

M5Stack Dial
Use a USB-C data cable. Charge-only cables usually fail during flashing.
M5Stack Dial setup
Flash the custom firmware, connect the Dial to Wi-Fi, enter your Brewfather credentials, and calibrate the scale from the on-device wizard.
Prepare the Dial, the scale hardware, and the credentials you will enter after the first boot.
Use a USB-C data cable. Charge-only cables usually fail during flashing.
Firmware flashing uses Web Serial, so use Chrome or Edge on a computer.
Use it after flashing to join the Dial setup Wi-Fi and scan the QR code.
Have your Brewfather API user ID and API key available on your phone so you can paste them into the portal.
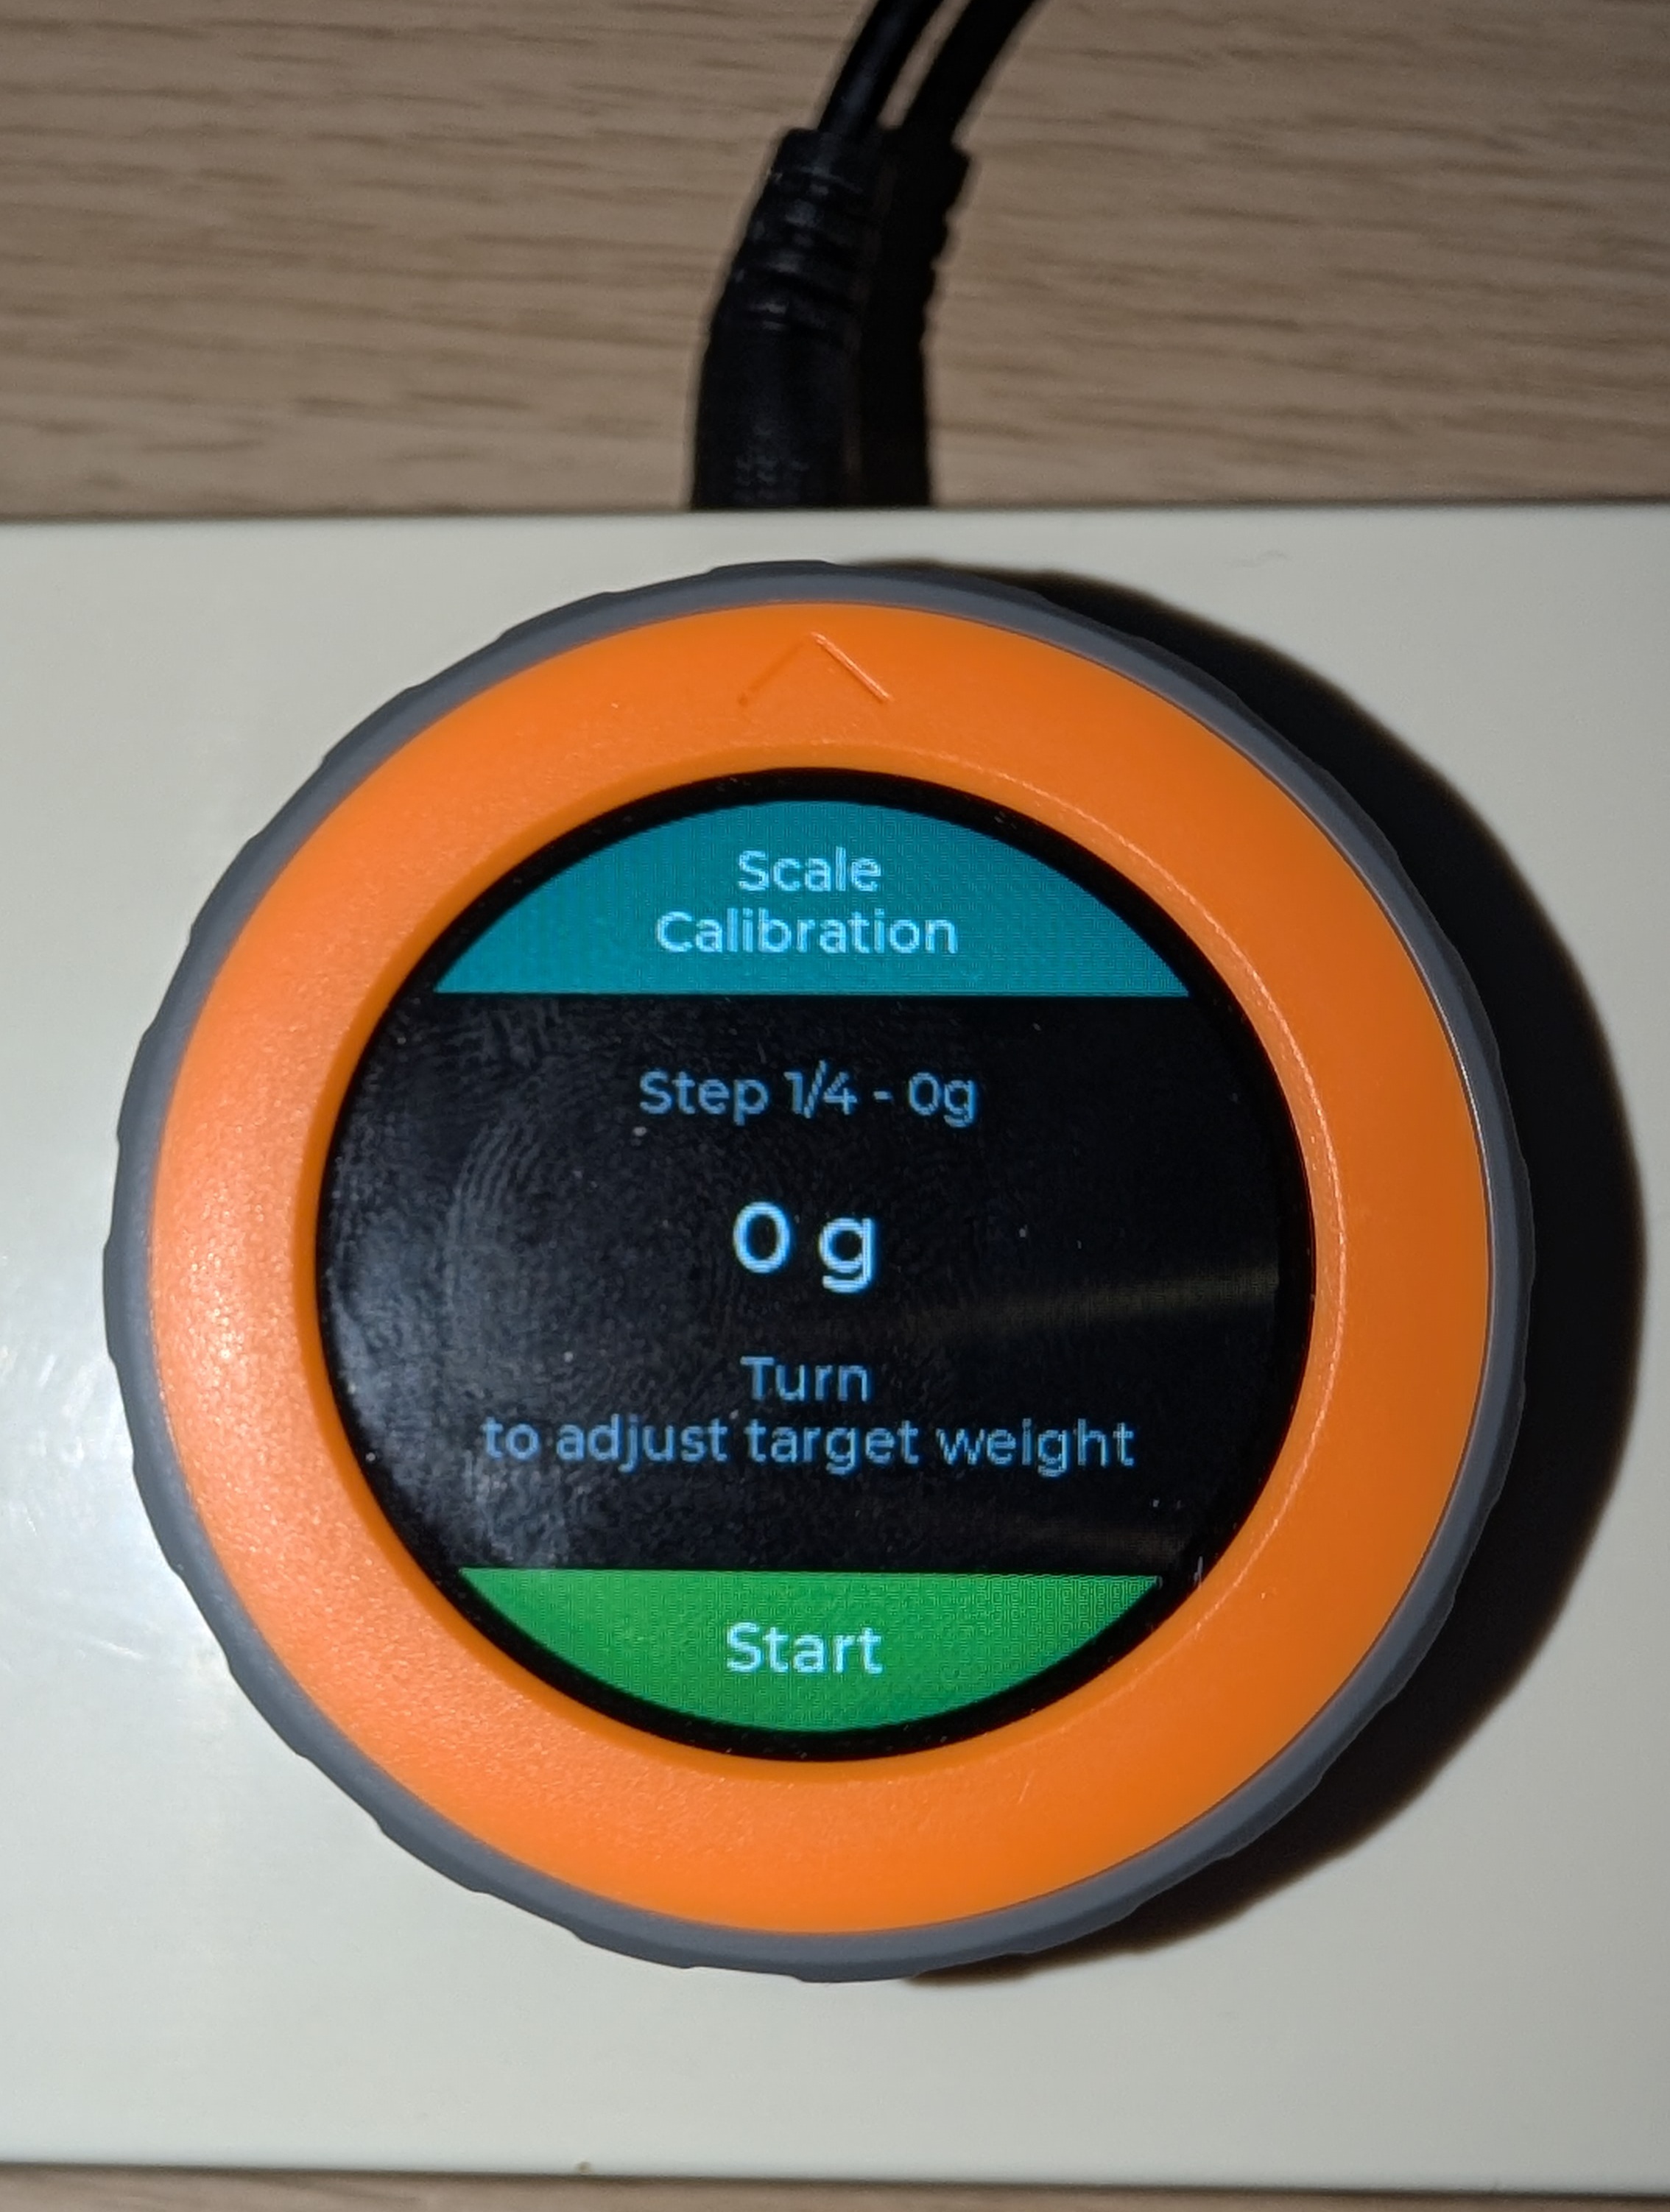
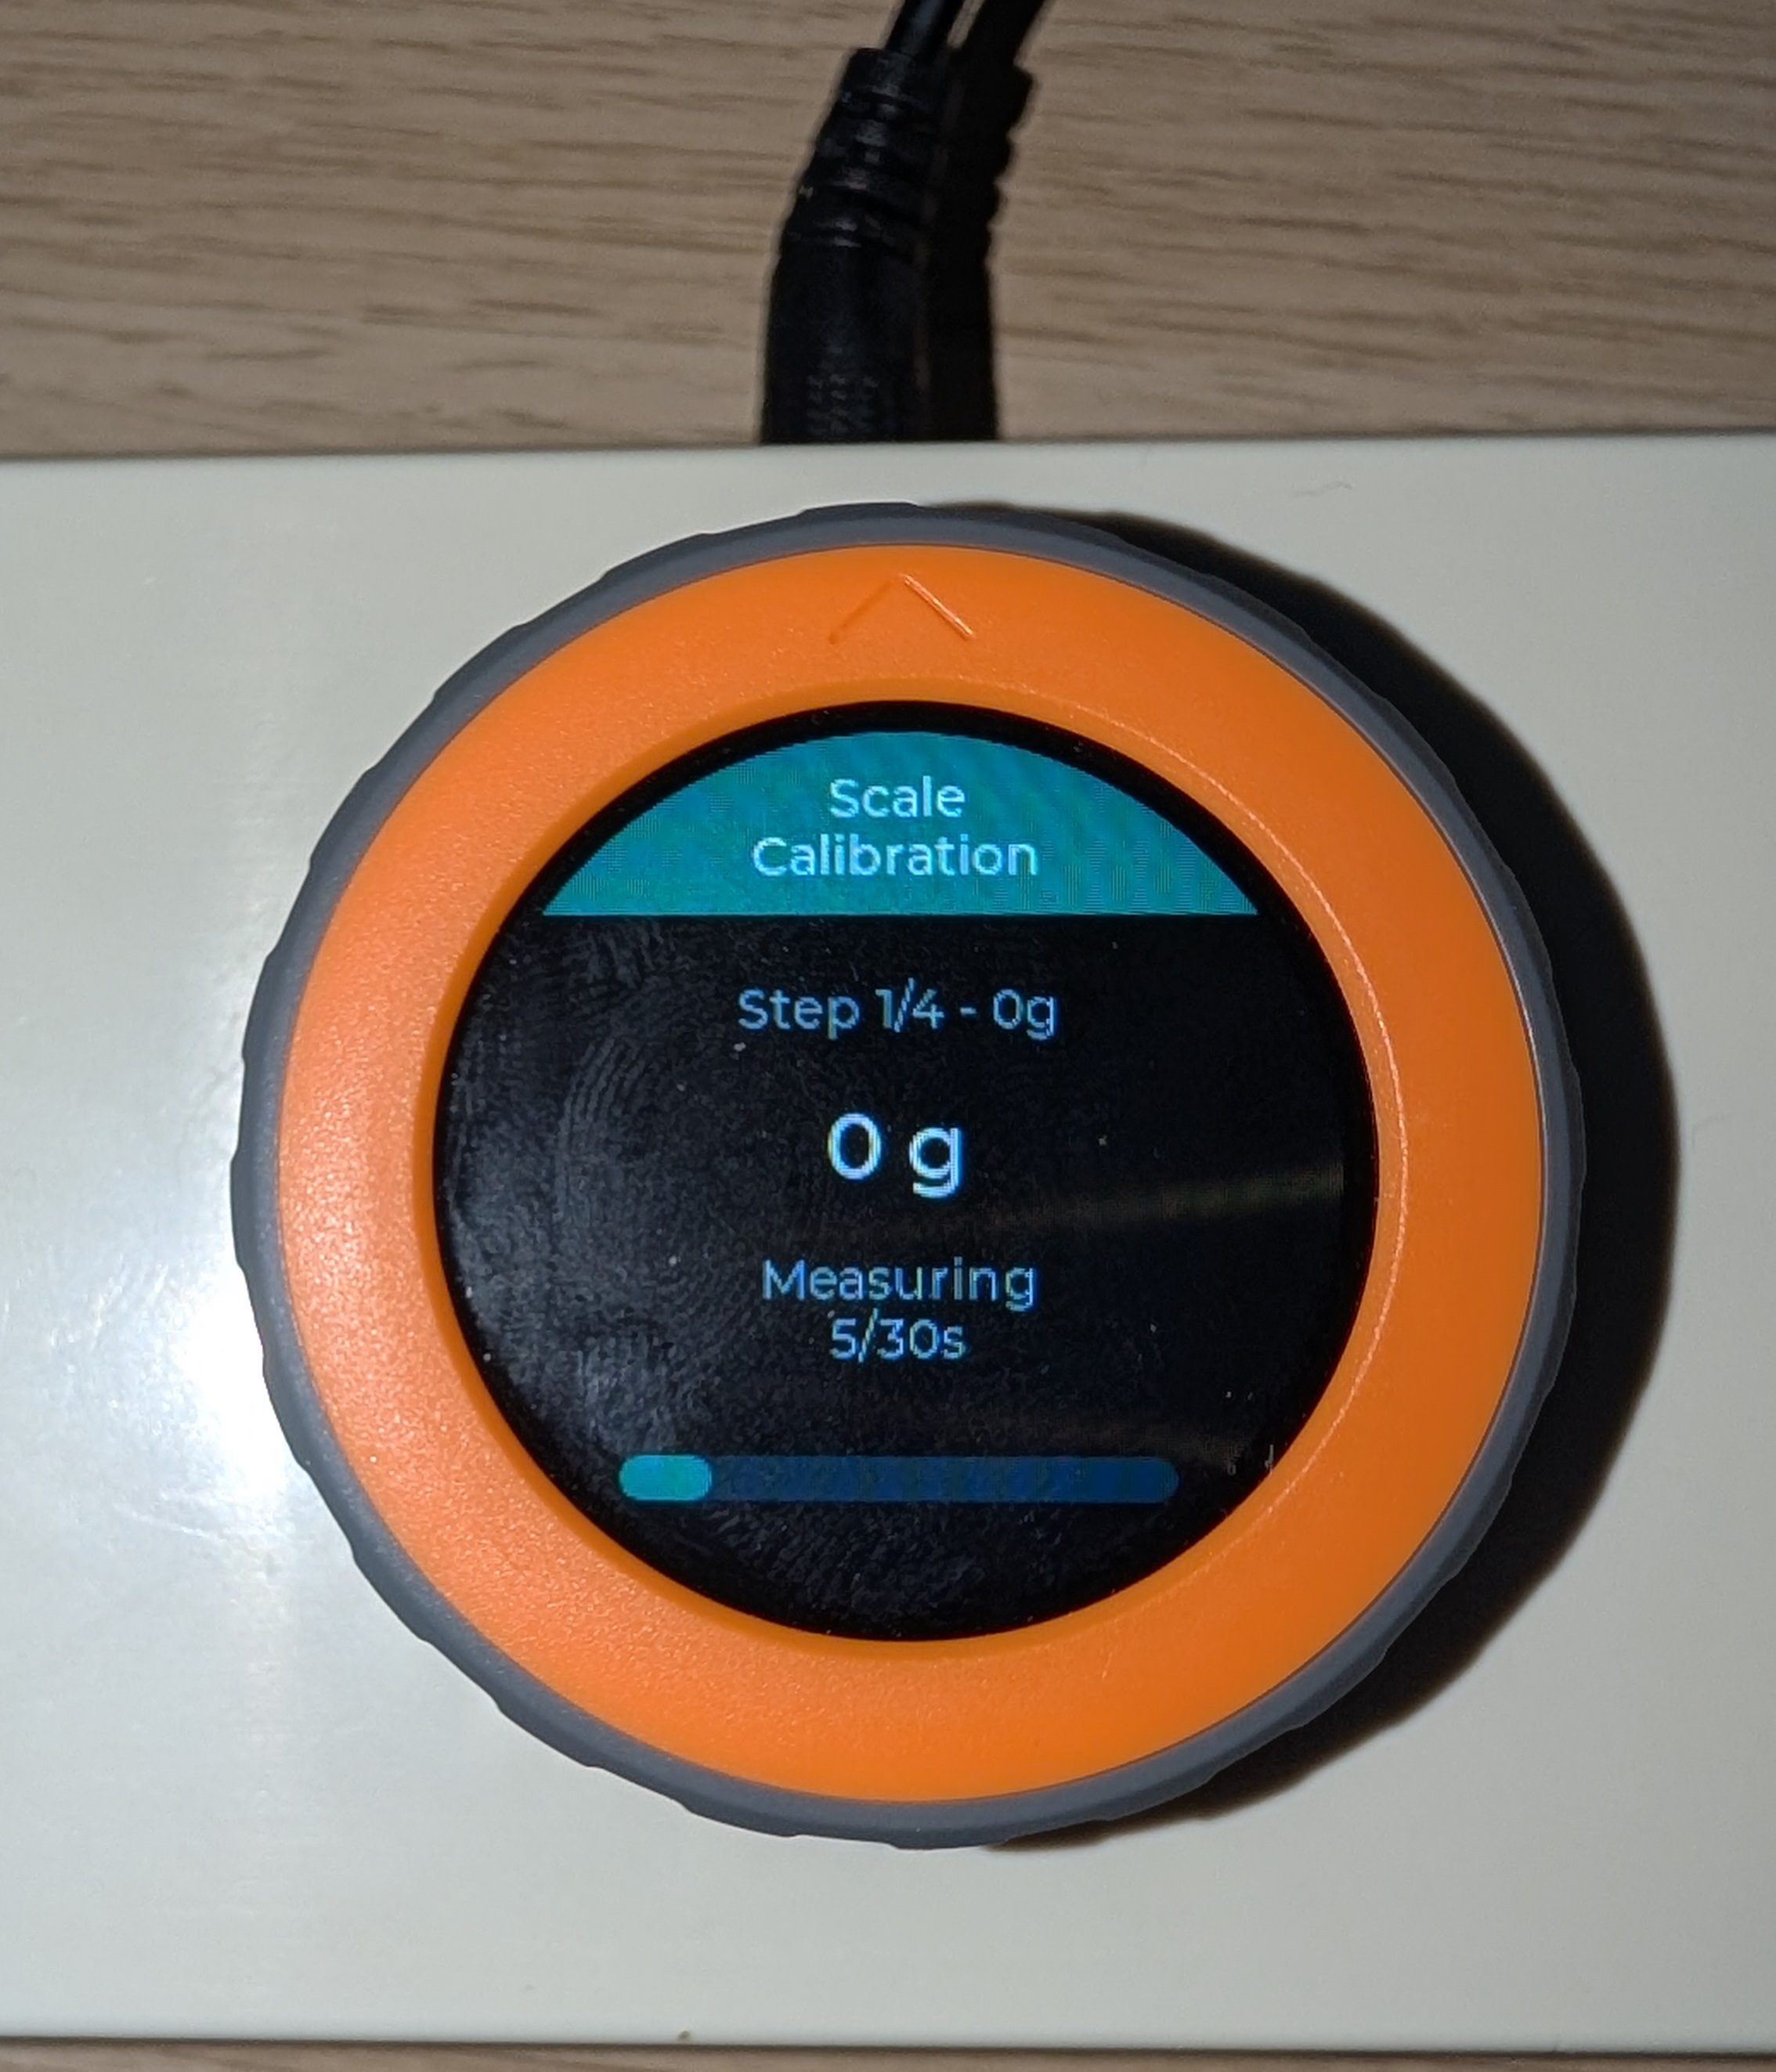
The wizard defaults to 0 g, 100 g, 500 g, 5000 g, and 25000 g points.
Follow the steps in order. The Dial will reboot several times; that is expected.
Disconnect USB-C. Hold the rear BOOT / G0 button, plug the Dial into your computer while keeping the button pressed, then release it after the USB connection is made.
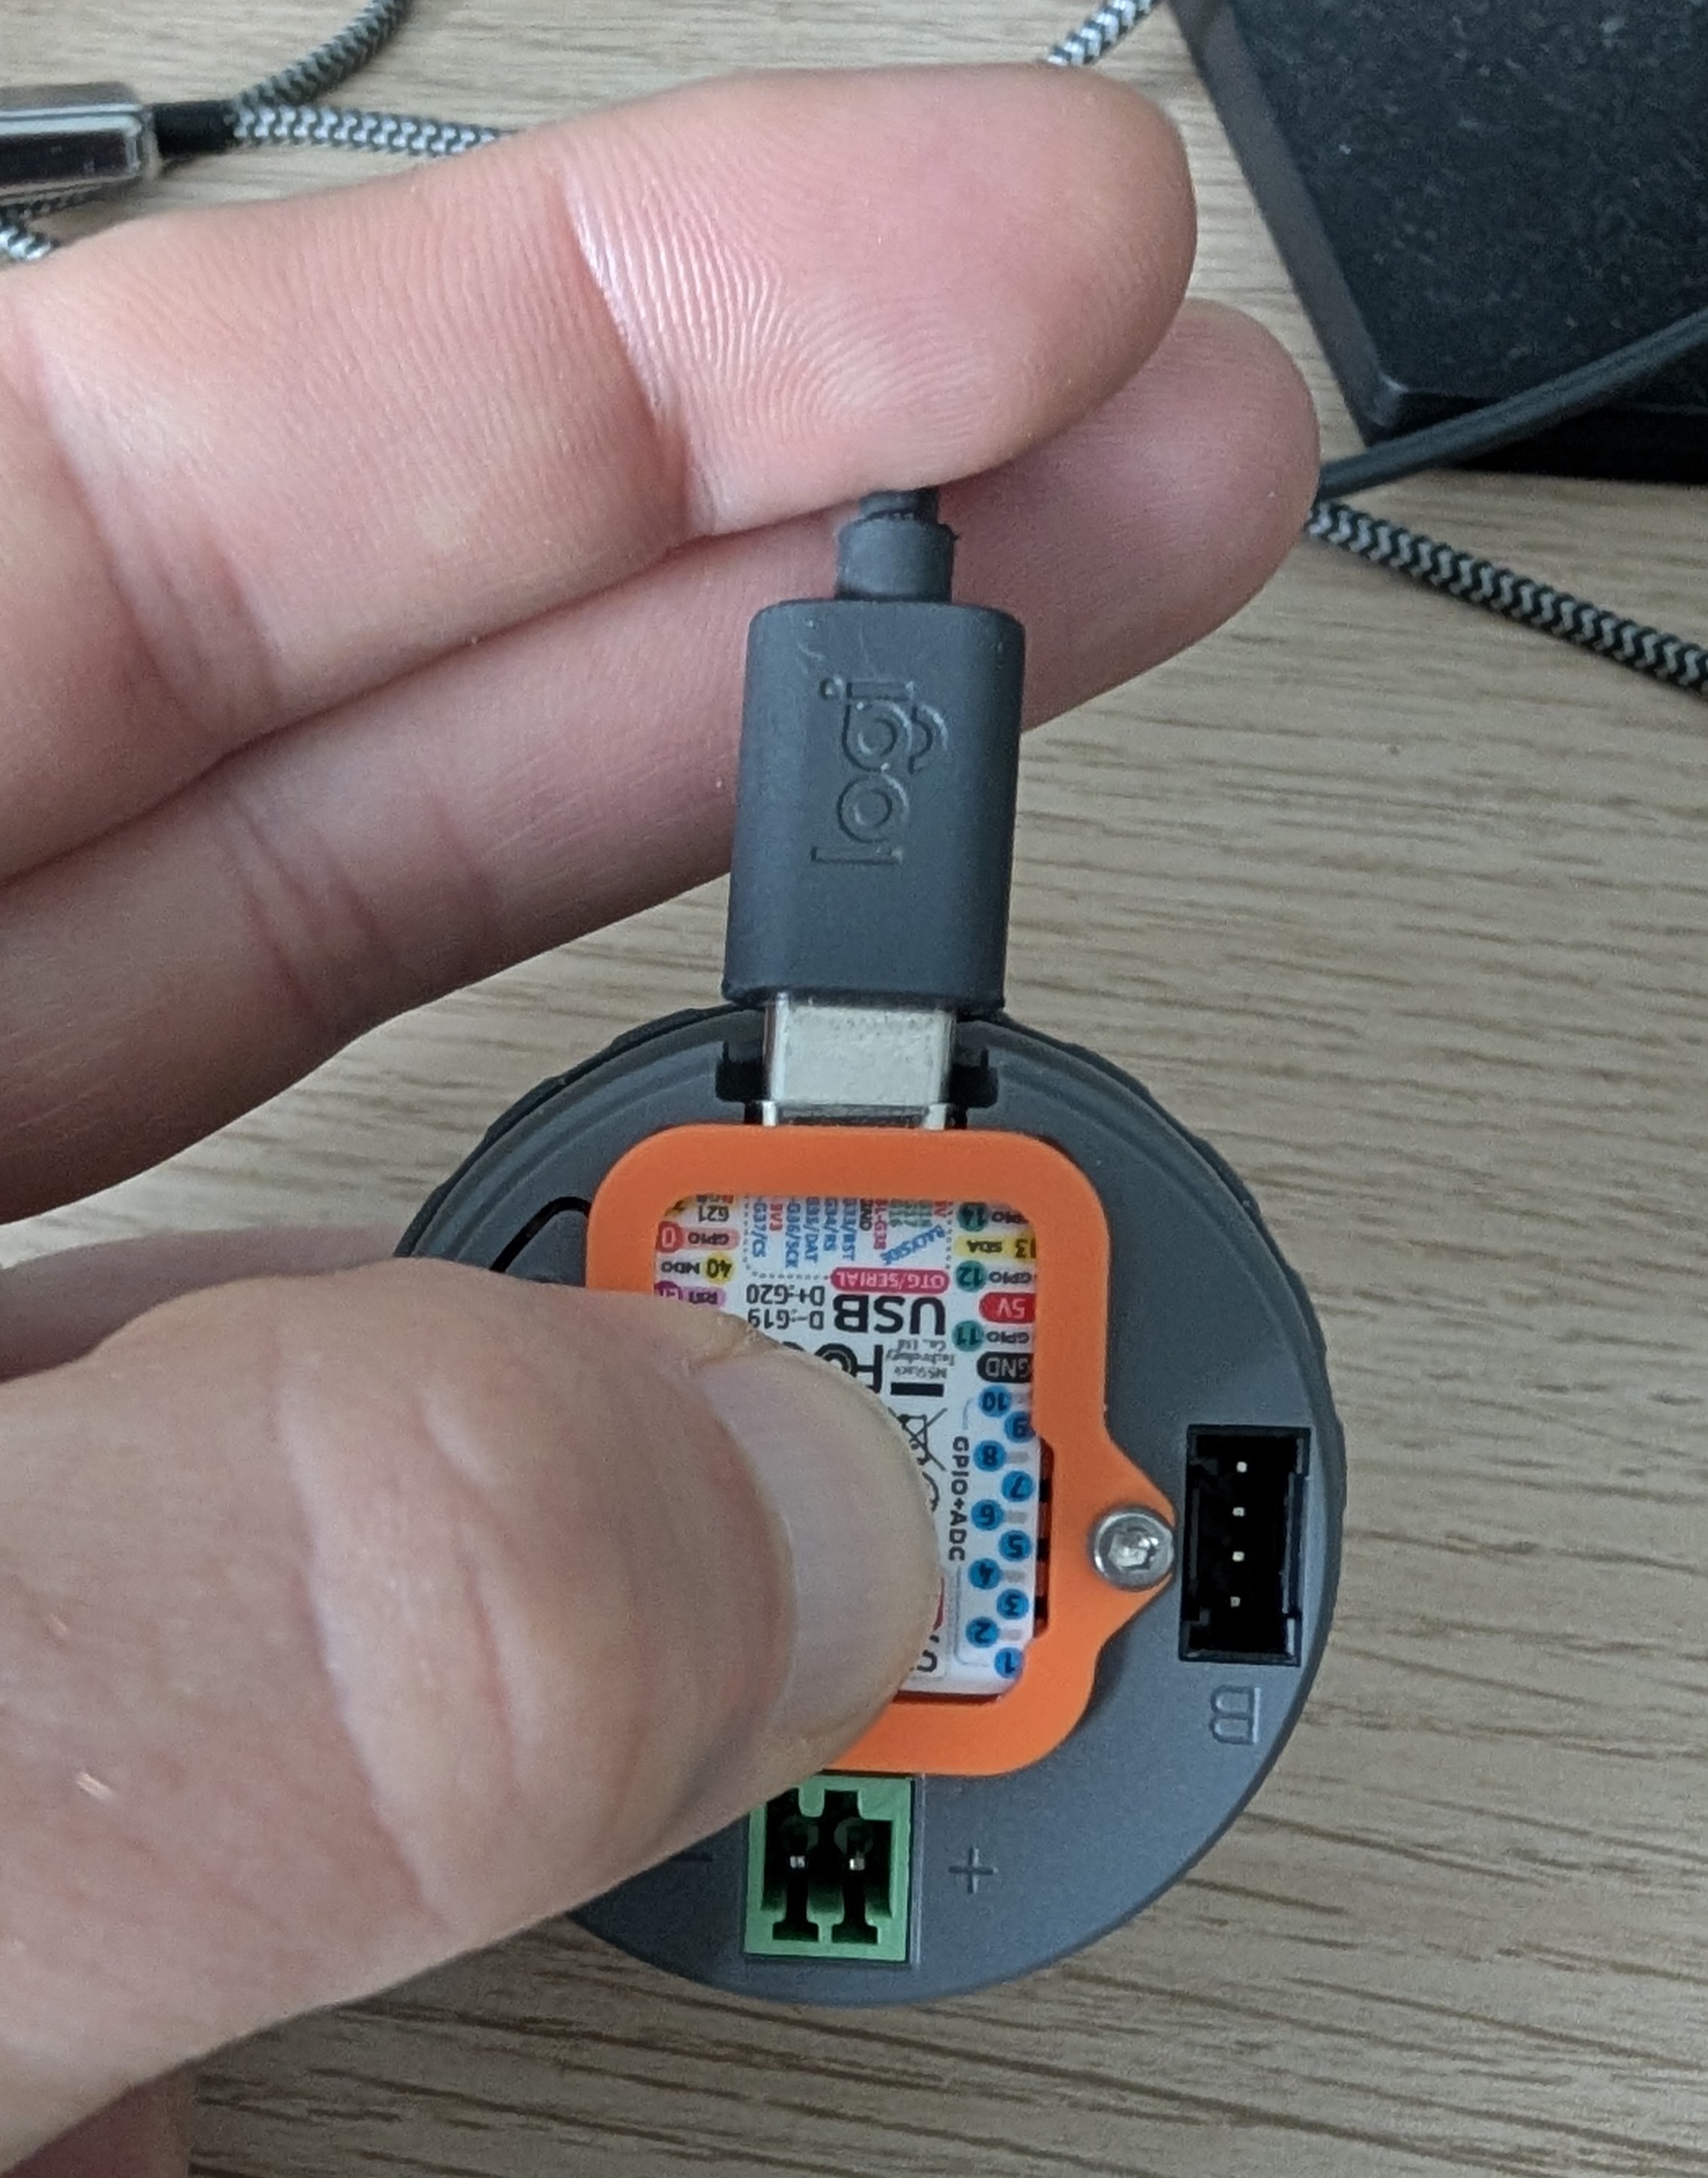
On the M5Stack Dial this is the ESP32-S3 download mode sequence: hold the G0 button before powering on, then release it after power is applied. M5Stack documents this in the Dial download mode notes.
Click the install button, choose the Dial serial port, and follow the browser prompts. When asked whether to erase the device, choose the erase option for a clean first install.
When the flash process finishes, disconnect and reconnect USB-C, or press the reset button. On a fresh install the application creates its default configuration and opens the setup screen automatically.
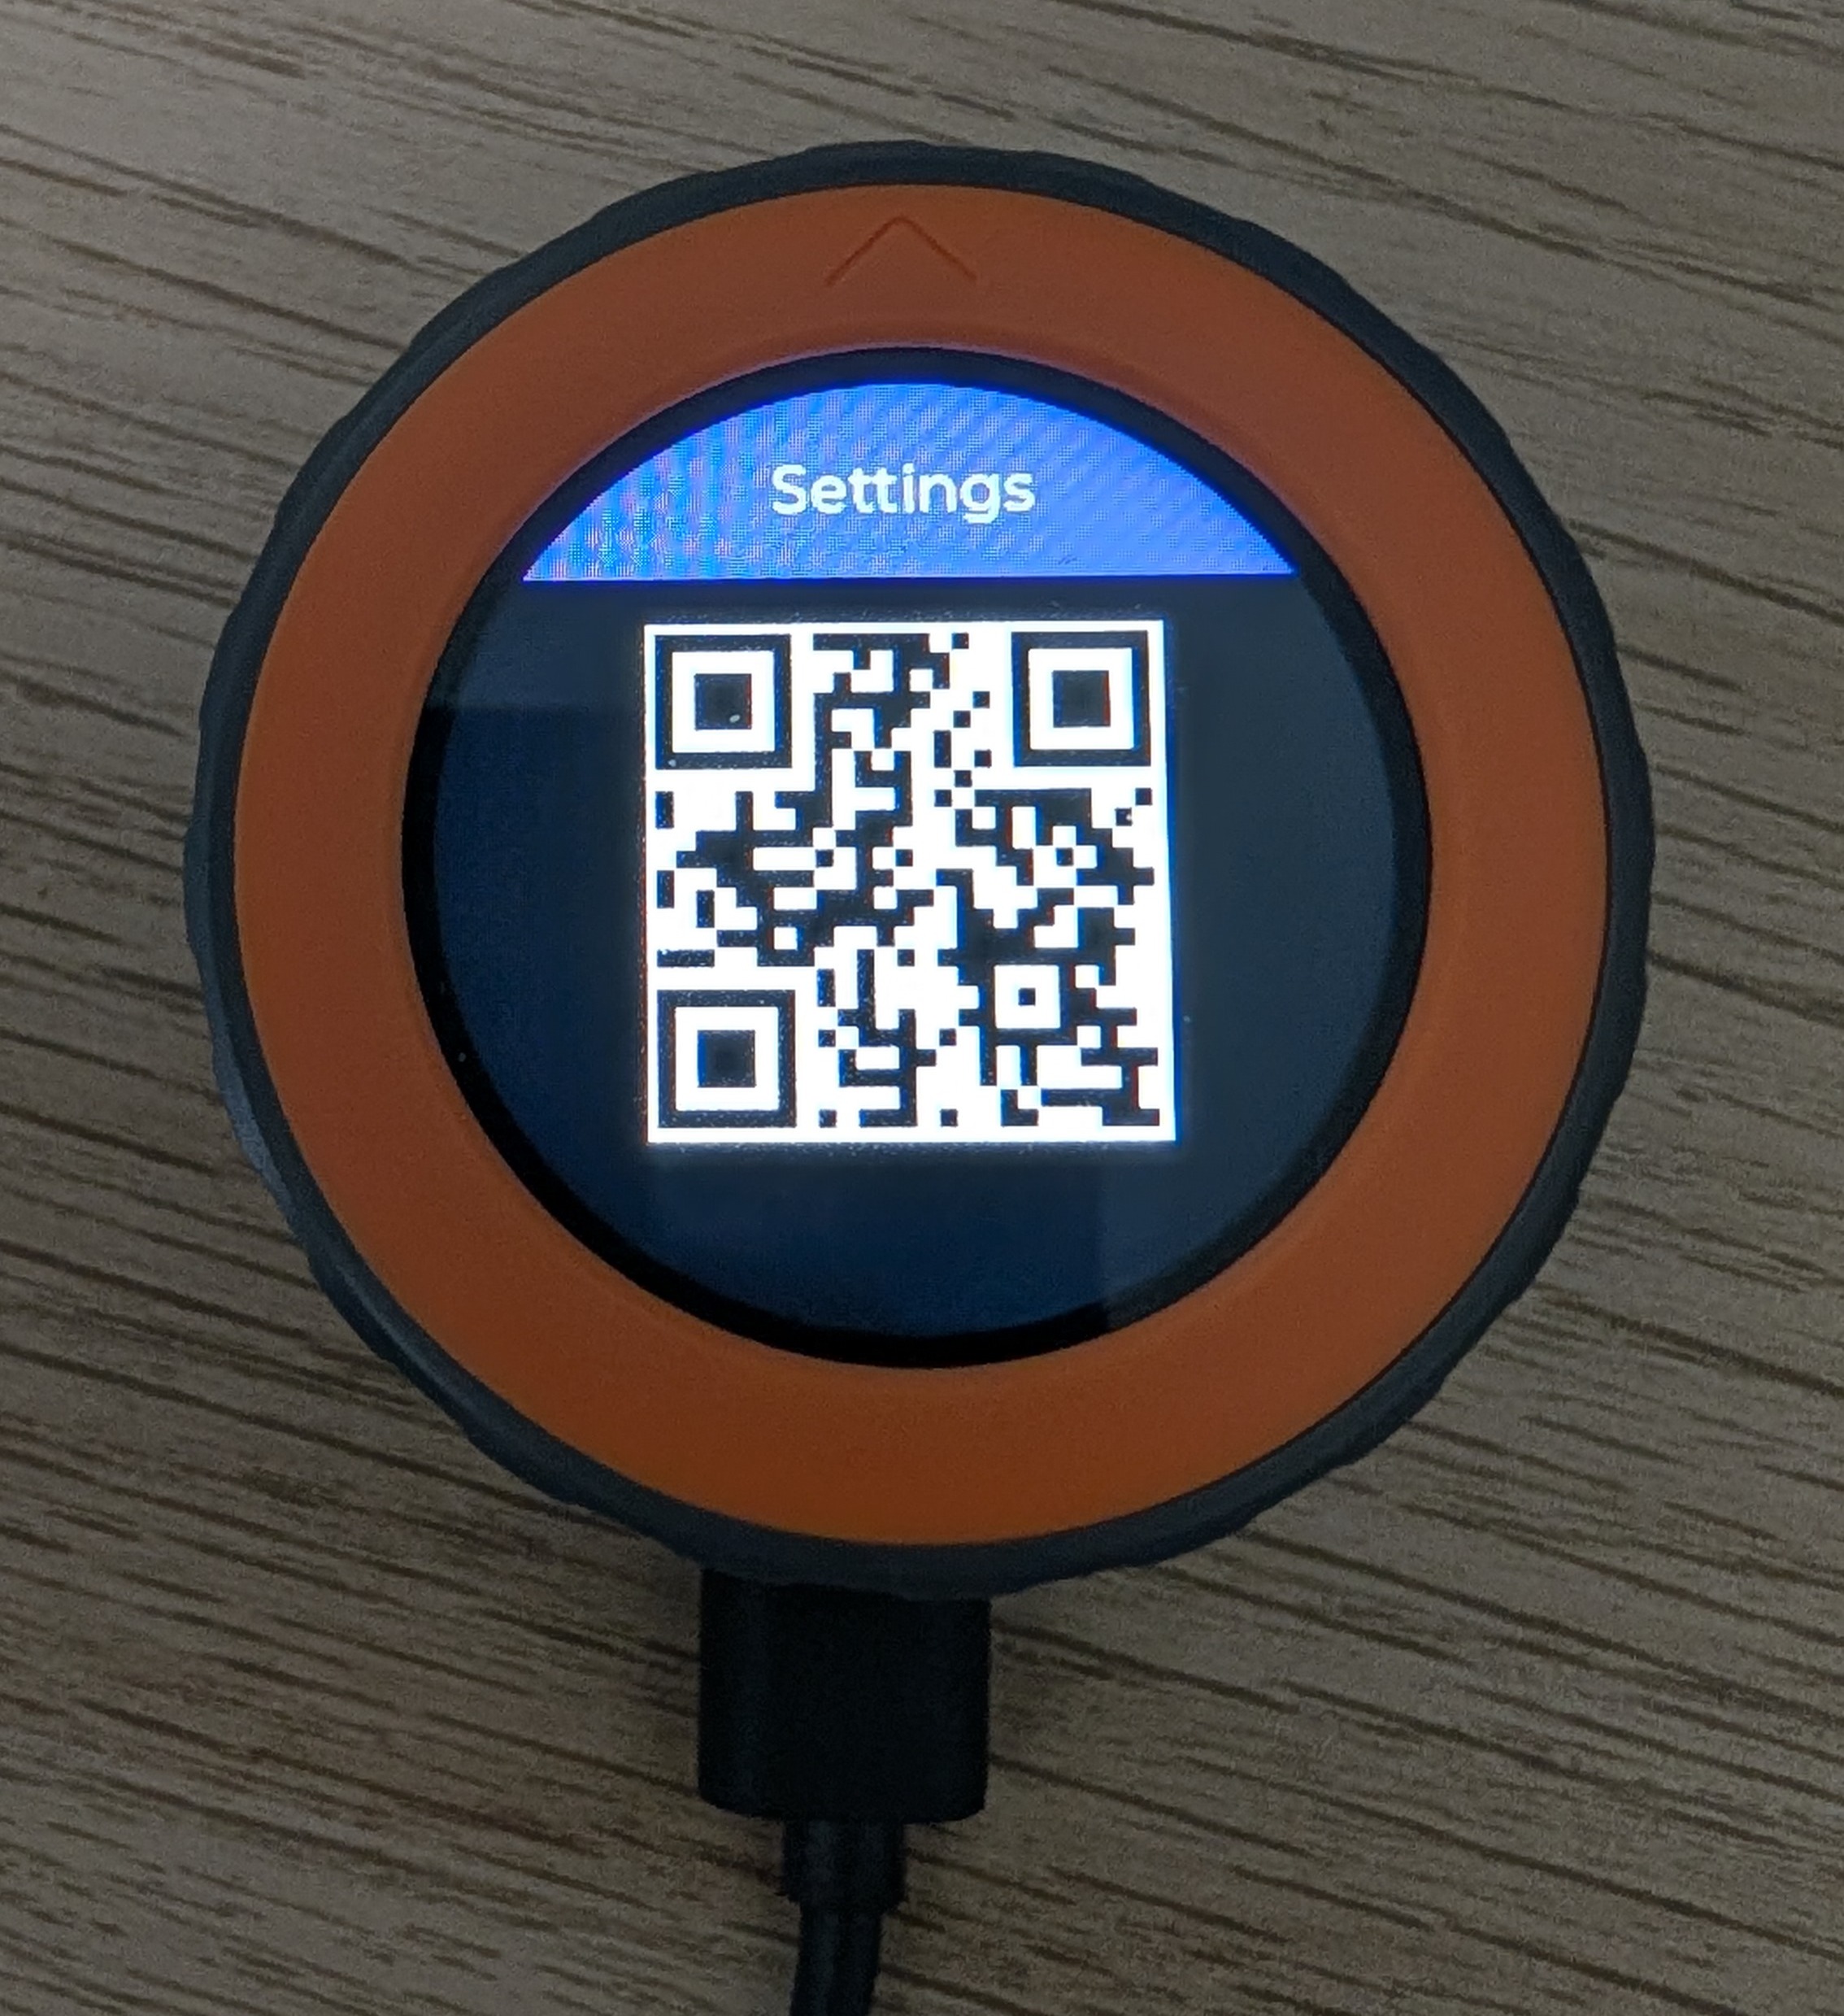
Because no Wi-Fi credentials are saved yet, the Dial starts its own setup access point and displays a QR code on the round screen.
On your smartphone, open Wi-Fi settings and join UHS-Setup. The setup network
has no password by default.
Stay connected to that Wi-Fi even if the phone warns that it has no internet access. The phone only needs to reach the Dial locally.
UHS-Setup Wi-Fi has no internet access, which
prevents the browser from reaching the Dial locally.
Scan the QR code shown on the Dial. It opens the embedded setup page, normally at
http://192.168.4.1:8080/.
If your camera app does not open the page, keep the phone connected to UHS-Setup
and type the address manually in the browser.
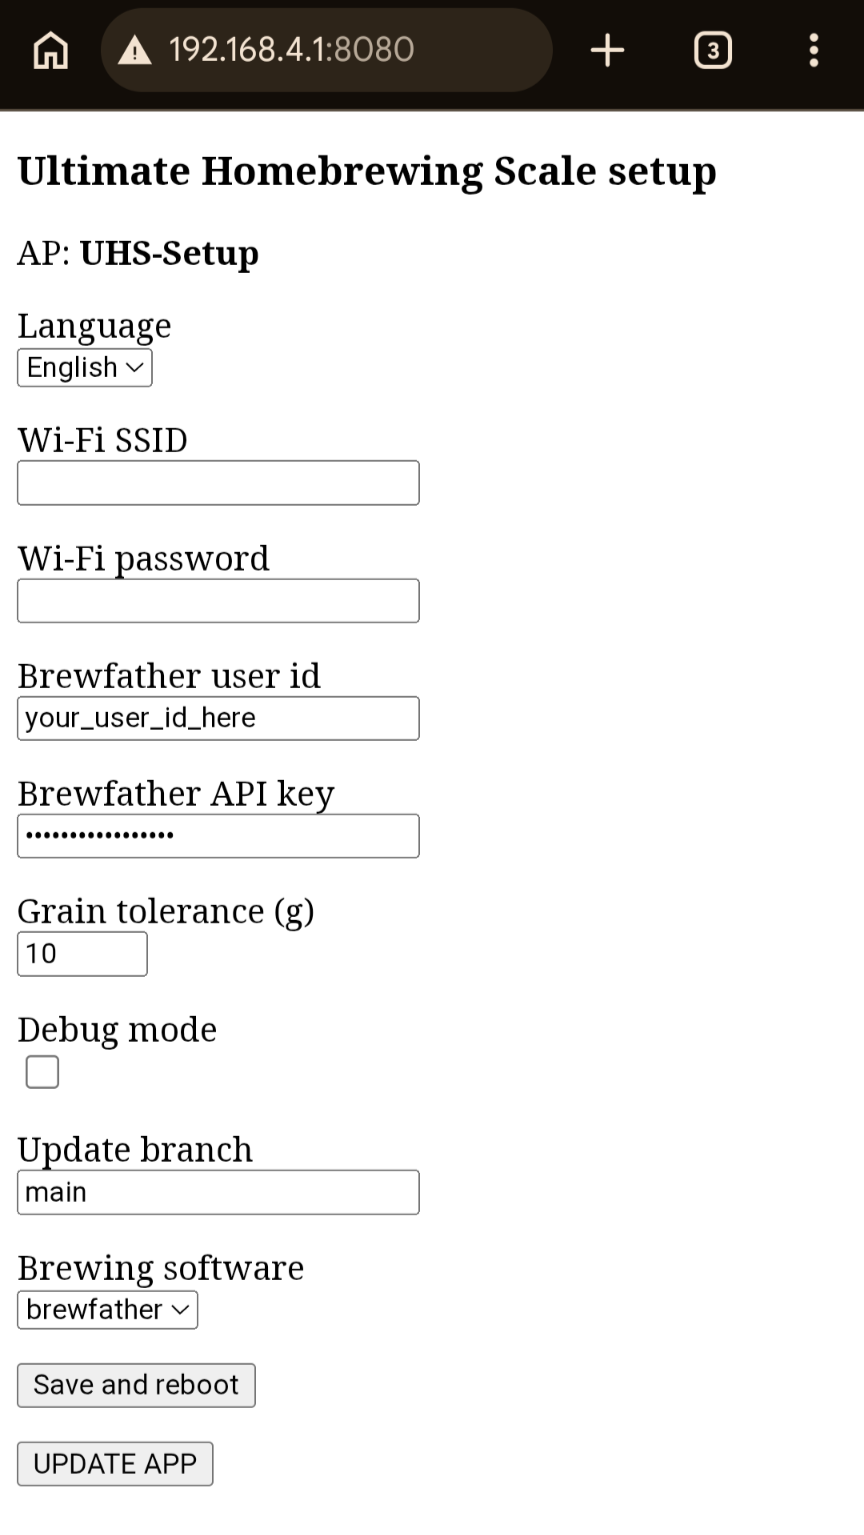
The portal page is intentionally simple. Enter the values below, then review them before saving.
UHS-Setup.| Field | What to enter |
|---|---|
| Language | Choose English or French for the Dial interface. |
| Wi-Fi SSID | Enter the exact name of your 2.4 GHz Wi-Fi network. |
| Wi-Fi password | Enter the password for that Wi-Fi network. |
| Brewing software | Leave brewfather selected. |
| Brewfather user id | Paste your Brewfather API user ID. |
| Brewfather API key | Paste your Brewfather API key. It is hidden as you type. |
| Grain tolerance (g) | Keep the default unless you want a wider or tighter weighing tolerance. |
| Hop tolerance (g) | Keep the default unless you want a wider or tighter hop weighing tolerance. |
| Spunding valve inertia (ml) | Keep the default 200 ml; this future keg filler setting will compensate valve closing inertia. |
| Update branch | Keep main for normal installs. |
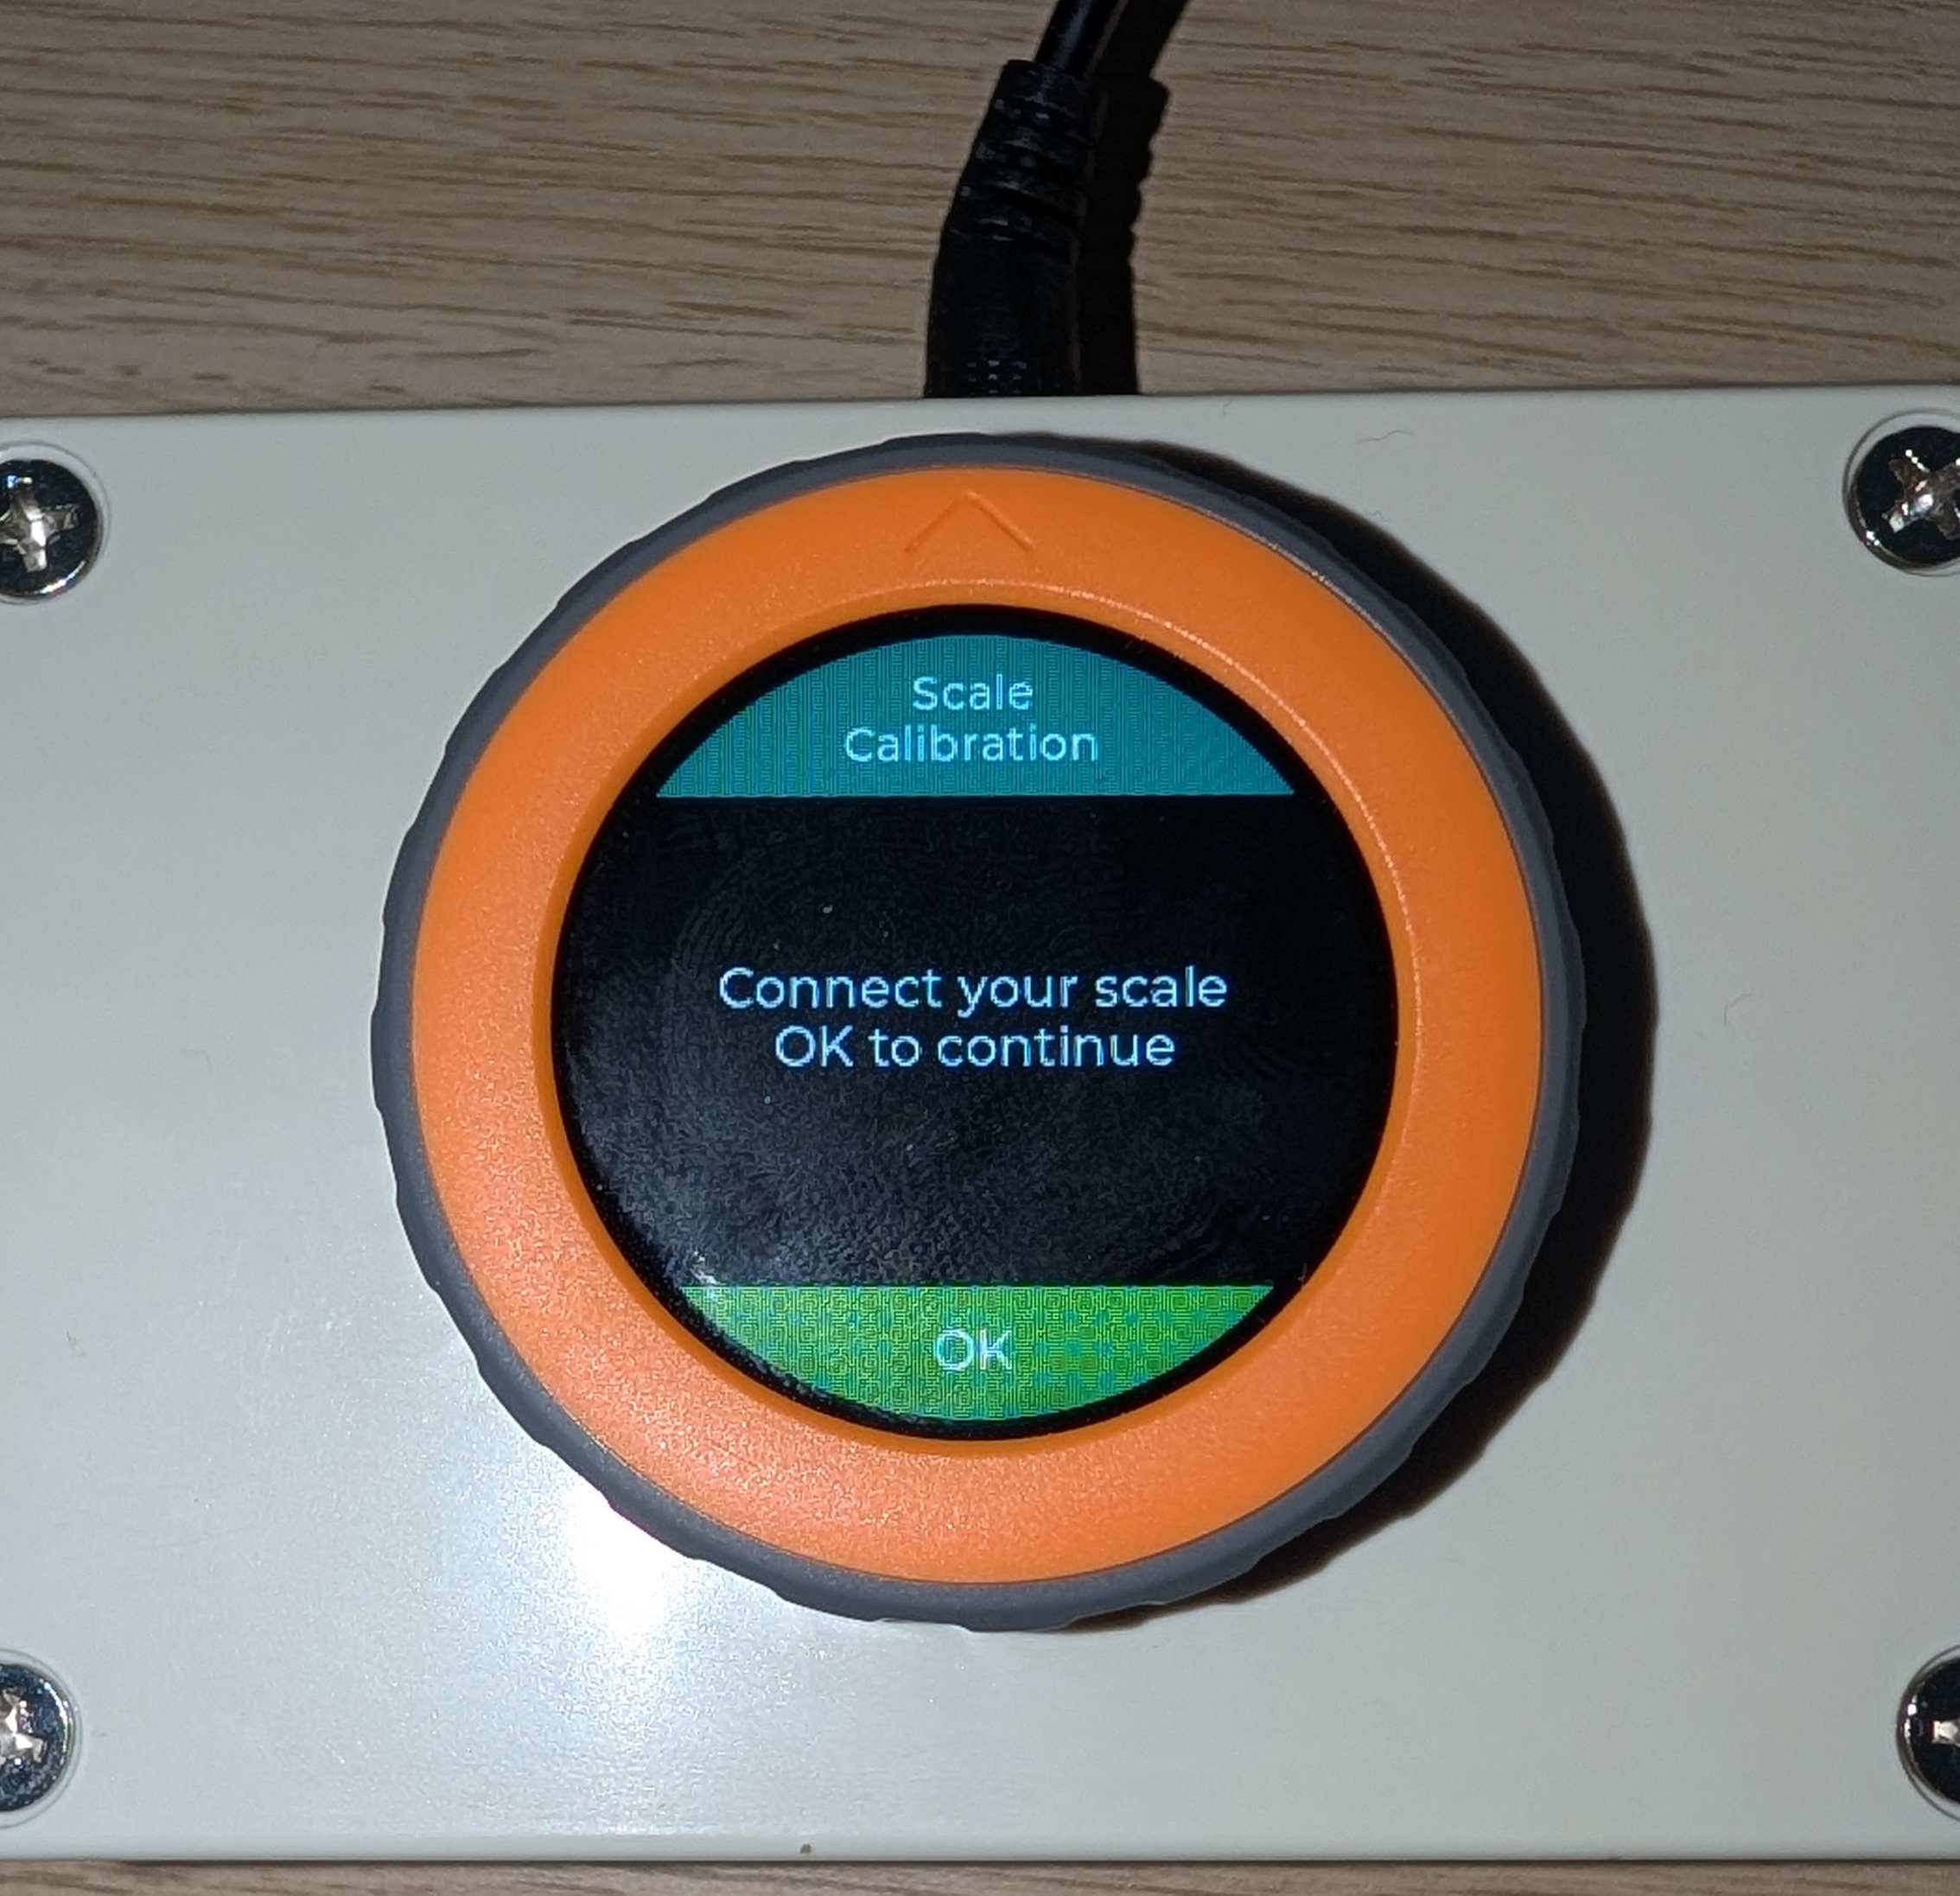
After reboot, the app checks for scale_calibration.json. On a fresh install,
that file does not exist yet, so the Dial opens the scale calibration wizard automatically.
When the final calibration point is complete, the Dial saves the calibration file and shows Calibration complete, OK to restart. Press the Dial button once.
The application performs a soft reset. On the next boot, Wi-Fi and calibration are both saved, so the launcher opens normally and the scale is ready to use with Brewfather recipes.
Most setup problems come from the USB cable, flash mode, phone Wi-Fi switching, or calibration movement.
UHS-Setup, temporarily turn off mobile data/5G, then manually open http://192.168.4.1:8080/.